Kali Linux on Proxmox

Running Kali Linux on Proxmox VE is the fastest way to build a penetration-testing and security research lab.
Instead of a slow ISO installation, we use the official pre-built QEMU image. This allows us to import the QCOW2 disk and boot the VM in minutes.
Setup
Prerequisites
- Proxmox VE installed
- Root access to host
- Storage:
local-lvm - Bridge:
vmbr0
Download
SSH into Proxmox and install dependencies:
1
apt update && apt install -y wget p7zip-full libguestfs-tools
Create workspace and download the QEMU image:
1
2
mkdir kali-linux && cd kali-linux
wget -O kali.qcow2 https://cdimage.kali.org/kali-2026.2/kali-linux-2026.2-qemu-amd64.7z

Verify
Check the SHA-256 checksum:
1
echo "c7c35588d05277c482c908bf7a136d348f76ffa68700b04ff53c0b217e6bd071  kali.qcow2" | sha256sum -c -
Expected output: kali.qcow2: OK

Extract
1
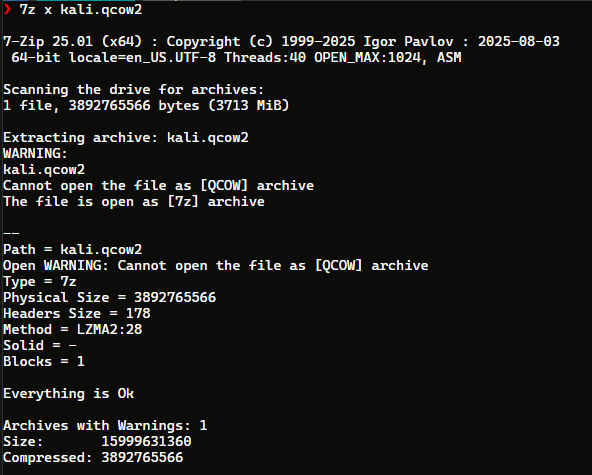
7z x kali.qcow2
VM Build
Create VM
1
2
3
4
5
6
7
8
qm create 200 \
  --name kali-linux \
  --memory 4096 \
  --cores 4 \
  --cpu host \
  --net0 virtio,bridge=vmbr0 \
  --agent enabled=1 \
  --machine q35
Import Disk
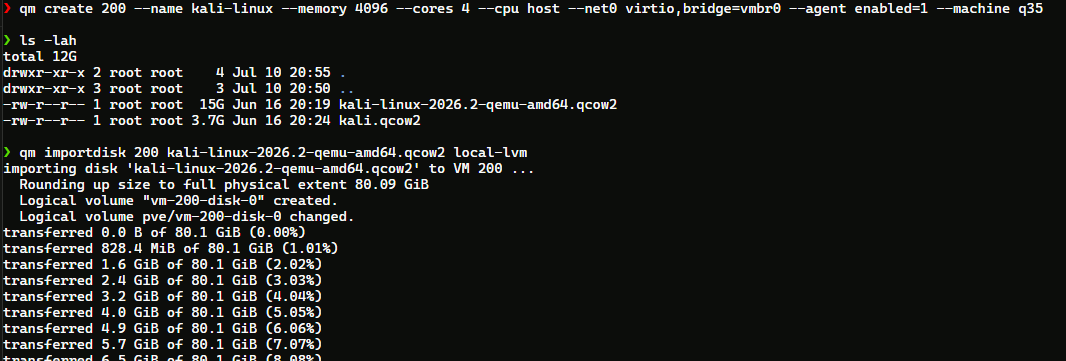
Import the QCOW2 image to local-lvm:
1
qm importdisk 200 kali-linux-2026.2-qemu-amd64.qcow2 local-lvm
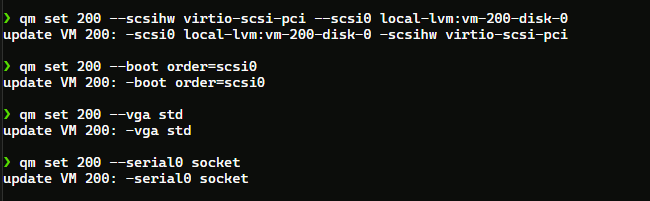
Attach and set boot order:
1
2
qm set 200 --scsihw virtio-scsi-pci --scsi0 local-lvm:vm-200-disk-0
qm set 200 --boot order=scsi0
Display
1
2
qm set 200 --vga std
qm set 200 --serial0 socket
Optimization
Disk Resize
Add 30GB to the virtual disk:
1
qm resize 200 scsi0 +30G
Network
Assign a static IP (adjust to your subnet):
1
qm set 200 --ipconfig0 ip=192.168.1.47/24,gw=192.168.1.1
Launch
Start the VM and check status:
1
2
qm start 200
qm status 200
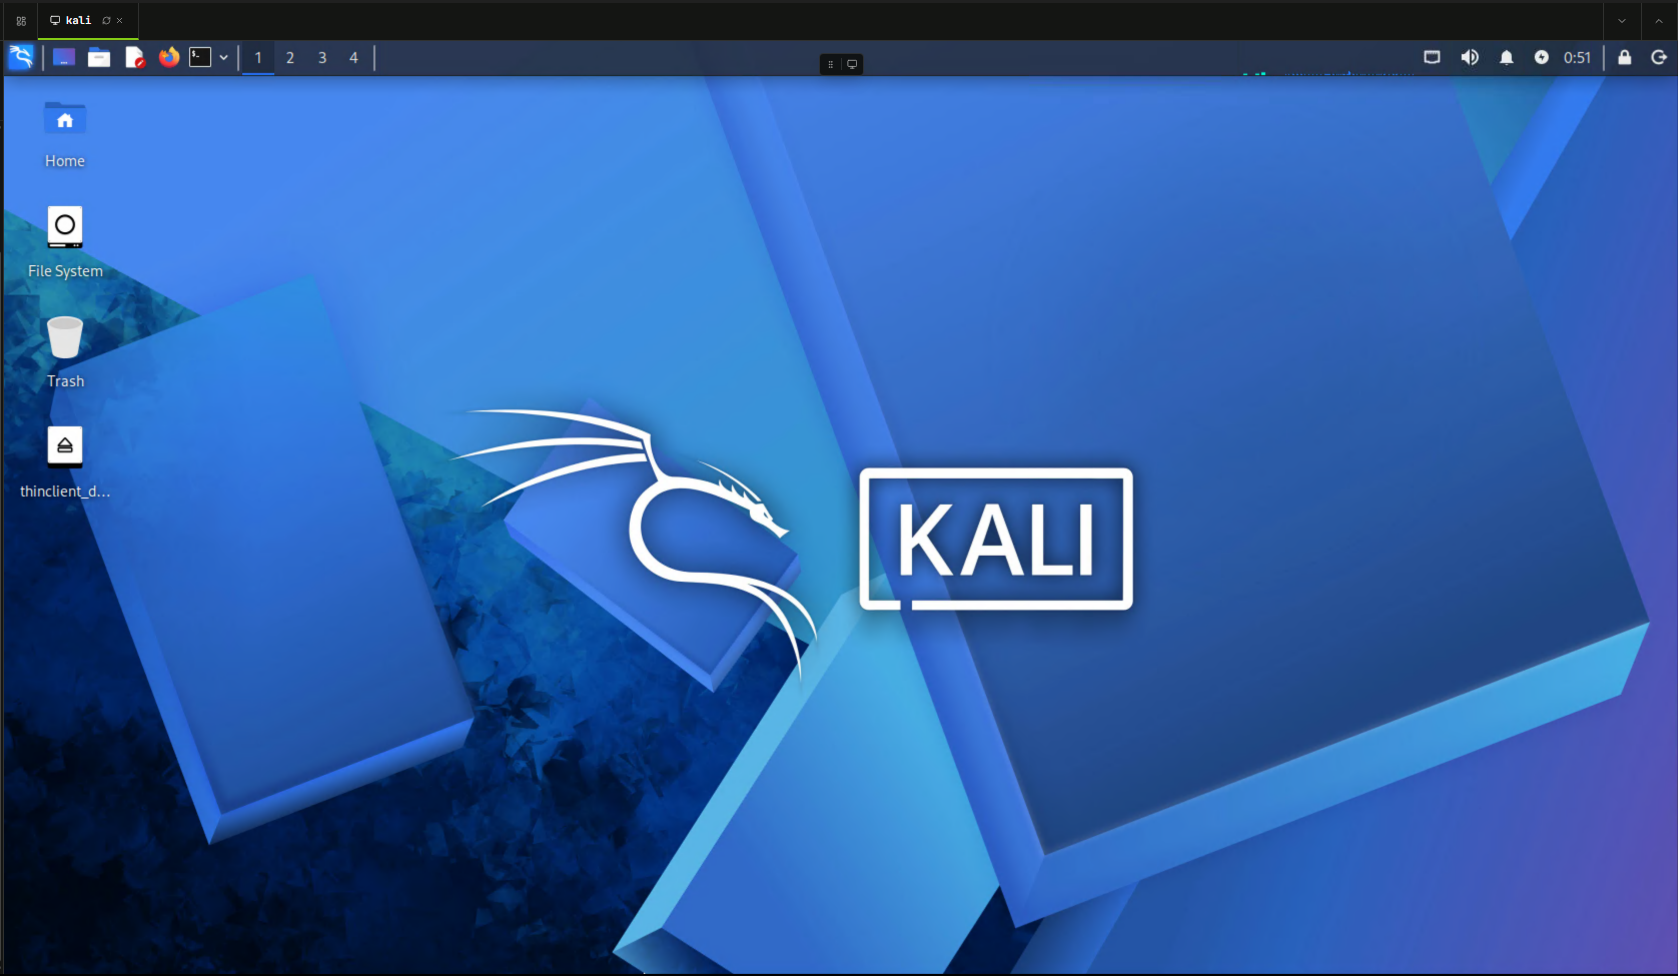
Access via Proxmox Web UI: Datacenter $\rightarrow$ Node $\rightarrow$ kali-linux $\rightarrow$ Console.
Login
- User:
kali - Pass:
kali
WARNING Change the default password immediately.
1
passwd
Post-Install
Update
1
2
sudo apt update && sudo apt full-upgrade -y
sudo reboot
Guest Agent
Ensure the Proxmox Guest Agent is running for better VM management:
1
2
sudo apt install -y qemu-guest-agent
sudo systemctl enable --now qemu-guest-agent
Verify Net
1
2
3
ip addr
ping -c 4 1.1.1.1
ping -c 4 kali.org
Quick Ref
VM Control
1
2
3
4
5
qm status 200   # Check status
qm start 200    # Start VM
qm stop 200     # Stop VM
qm reboot 200   # Restart VM
qm config 200   # Show config
Troubleshooting
Boot Issues
If the VM doesn’t boot, verify the boot order and disk attachment:
1
2
3
qm config 200
# Check: boot: order=scsi0
# Check: scsi0: local-lvm:vm-200-disk-0
Disk Import Fail
Use the absolute path if qm importdisk fails:
1
qm importdisk 200 /root/kali-linux/kali-linux-2026.2-qemu-amd64.qcow2 local-lvm
Network Fail
Verify the bridge on the host and the adapter in the VM:
1
2
3
4
# Proxmox host
qm config 200 | grep net0
# Inside Kali
ip route
Security
- Only test systems you own or have explicit authorization for.
- Use an isolated VLAN for security labs.
- Take Proxmox snapshots before running experimental tools.
Conclusion
Using the official QEMU image saves time compared with installing Kali manually from an ISO, while Proxmox provides useful VM features such as snapshots, backups, virtual networking, resource management, and console access.
Once the VM is running, change the default password, update Kali, verify the network, and install the QEMU Guest Agent. From there, you have a ready-to-use Kali Linux virtual machine for your authorized security lab and testing environment.