Open WebUI & Ollama setup on Windows

🌐 What is Open WebUI?
Open WebUI is an open-source, web-based user interface designed to simplify interactions with backend applications. It provides a sleek interface for handling modules, pulling resources, and managing tasks efficiently.
🖥️ System Requirements
To install and use Open WebUI and Ollama on Windows, ensure your system meets the following requirements:
- Operating System: Windows 10/11 (64-bit)
- RAM: Minimum 8GB (16GB recommended)
- Processor: x64-based processor
- Storage: At least 20GB of free space
- Software: Docker Desktop, Winget, or Chocolatey (for package management)
1️⃣ Install Ollama
Ollama is a prerequisite for running Open WebUI. Follow these steps to install it on Windows:
- Visit the official Ollama website and download the installer for Windows.
- Run the installer and follow the on-screen instructions to complete the installation.
- Verify the installation by opening a terminal and typing:
1
ollama --version
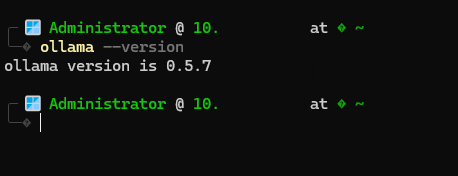
If the version number appears, Ollama has been installed successfully.
2️⃣ Install Open WebUI using python
install using python
Open the terminal as administrator and install the python
- Open a terminal and install Docker Desktop using Winget:
1
winget install Python.Python.3.10
Alternatively, use Chocolatey:
1
choco install python --version=3.10
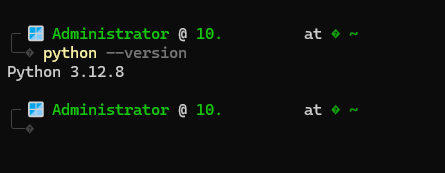
- Once installed, launch terminal and ensure it is running. Verify by typing:
1
python --version
Default Model Directory
By default, Ollama stores models in the following directory: C:\Users\%username%\.ollama\models
Steps to Change the Model Directory if needed
Follow these steps to change the model directory:
-
- Quit Ollama: Ensure that the Ollama application is not running. You can do this by right-clicking the Ollama icon in the taskbar and selecting ‘Quit’.
-
- Open Environment Variables:
- For Windows 11, open the Settings app and search for “environment variables”.
- For Windows 10, open the Control Panel and search for “environment variables”.
- Open Environment Variables:
-
- Edit Environment Variables: Click on “Edit environment variables for your account”.
- Set the OLLAMA_MODELS Variable:
- If the variable already exists, select it and click “Edit”. If it does not exist, click “New” to create it.
- Set the variable name to OLLAMA_MODELS and the value to your desired directory path (e.g., D:\OllamaModels).
- Edit Environment Variables: Click on “Edit environment variables for your account”.
-
- Save Changes: Click OK/Apply to save your changes.
-
- Restart Ollama: Launch the Ollama application from the Start menu to apply the new settings.
Reboot the system to update the environment variables
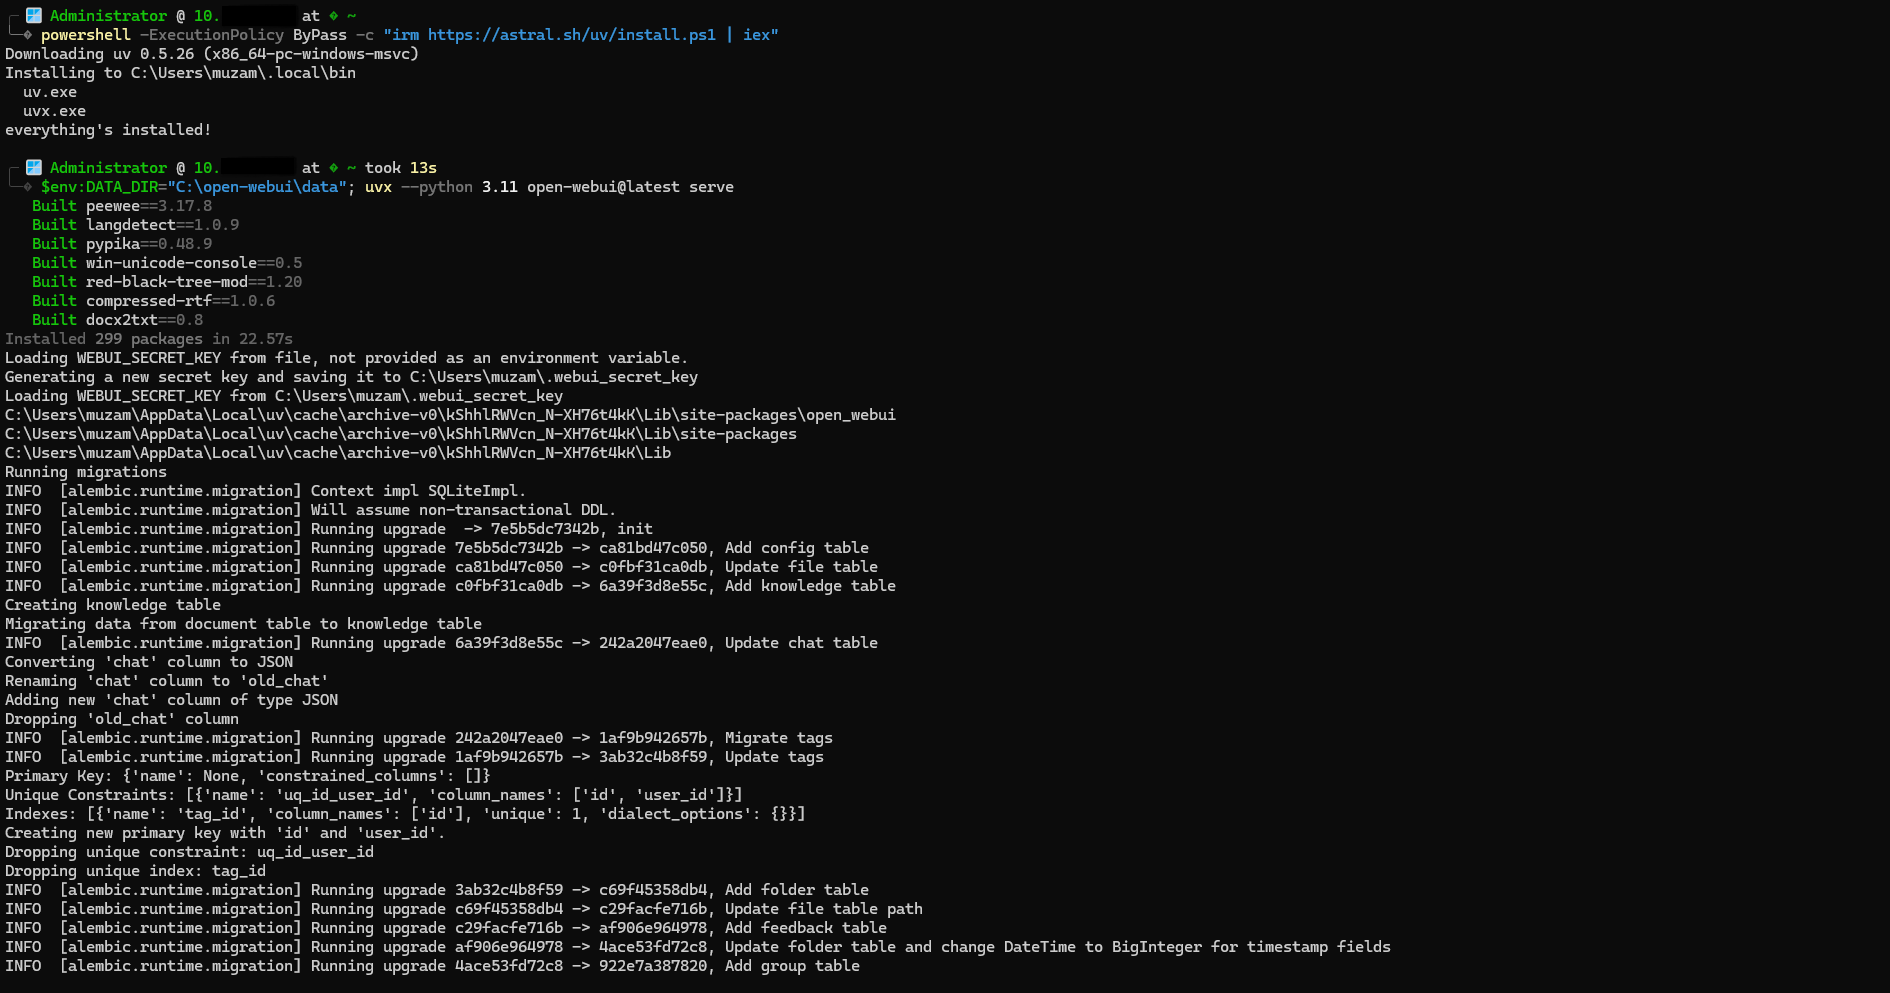
installing open webui using python uvx
uvx is a command-line tool designed to manage Python environments and run Python applications easily. It simplifies version management, package installation, and application execution, especially for Python-based projects like OpenWebUI.
1
2
   powershell -ExecutionPolicy ByPass -c "irm https://astral.sh/uv/install.ps1 | iex"
   $env:DATA_DIR="D:\owui\data"; uvx --python 3.11 open-webui@latest serve
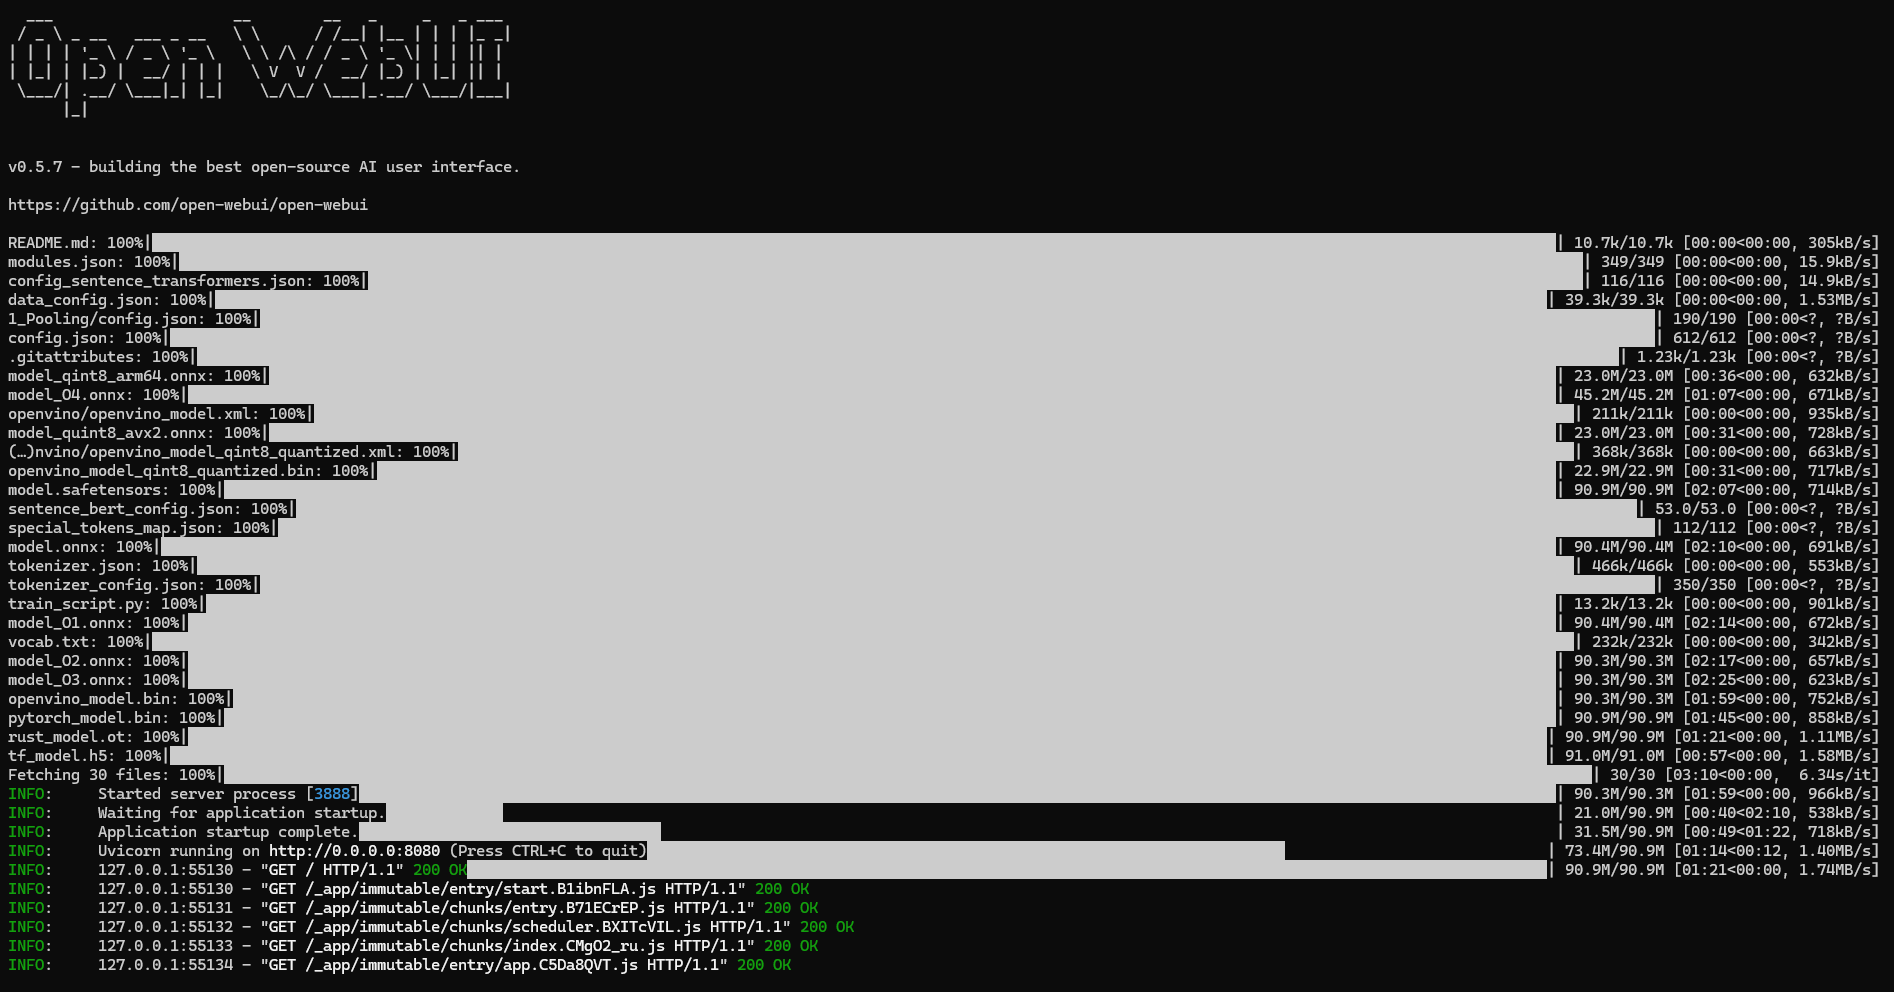
Open your browser and navigate to http://localhost:8080 to access the Open WebUI interface.
install using Docker
Configuring Open WebUI with Docker
As my system has s dedicated server so am using the GPU webui if you dont have a GPU you can exclude it check the official ollama quick start guide
Create a docker-compose.yml file with the following configuration:
1
2
3
4
5
6
7
8
9
10
11
12
13
14
15
16
17
18
19
services:
  open-webui:
    image: ghcr.io/open-webui/open-webui:cuda
    container_name: open-webui
    ports:
      - "3000:8080"
    deploy:
      resources:
        reservations:
          devices:
            - capabilities: ["gpu"]
    volumes:
      - open-webui:/app/backend/data
    restart: unless-stopped
    extra_hosts:
            - 'host.docker.internal:host-gateway'
volumes:
  open-webui:
    driver: local
Key Configuration Breakdown:
- Image: Specifies the container image from the Open WebUI GitHub Container Registry.
- Restart: Ensures the container automatically restarts on failure or reboot.
- Volumes: Maps a directory for persistent data storage.
- Extra Hosts: Links the container to the host system for seamless communication.
- Ports: Maps the internal port
8080to the external port3000for web access.
Running the Docker Container
- Navigate to the directory containing the
docker-compose.ymlfile. - Run the following command to start the Open WebUI container:
1
docker-compose up -d
- Verify the container is running:
1
docker ps
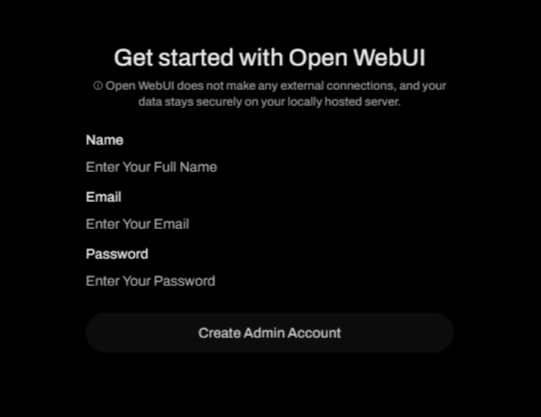
3️⃣ Sign In to Open WebUI
- Open the browser and go to
http://localhost:8080 - Create an account or log in using your existing credentials.
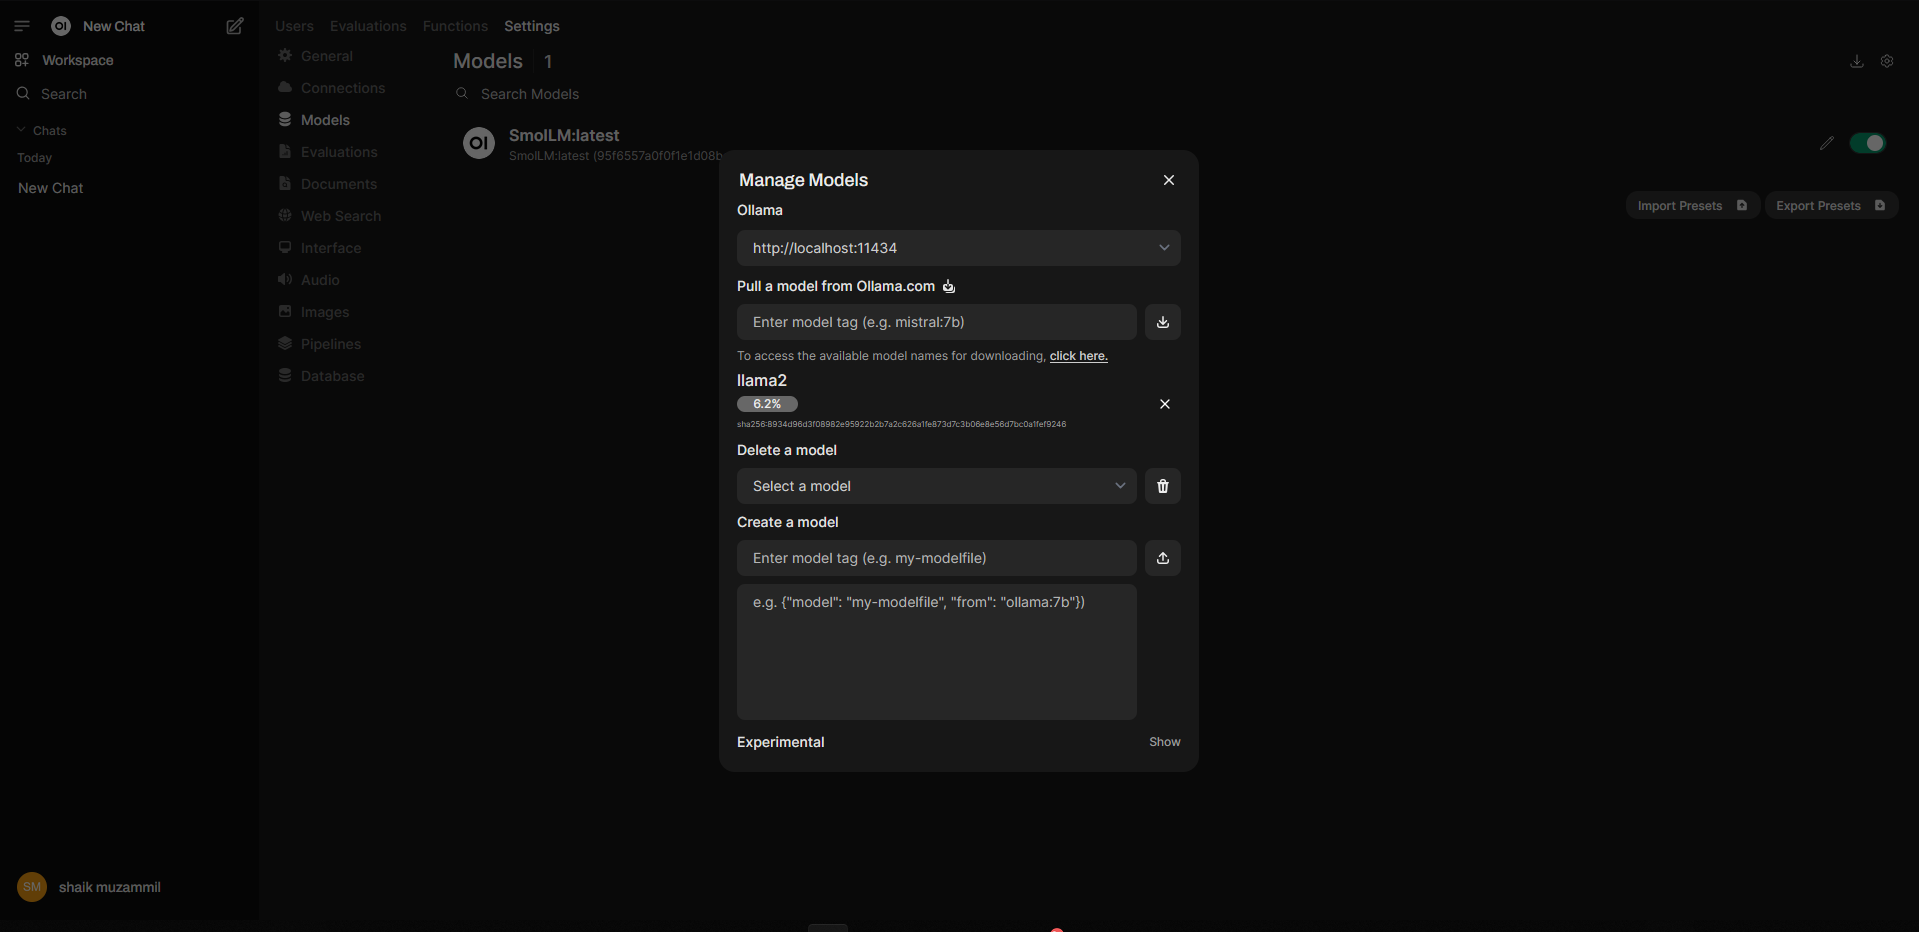
4️⃣ Pull the Modules
Once signed in, navigate to the “Admin panel > settings > Modules” section in Open WebUI and:
pulling the module via openwebui
- Select the module you wish to install.
- Click “Pull” to download and install the module. Ensure your internet connection is stable for smooth downloads.
5️⃣ Select the Module and Enjoy the Chat
After the modules are installed:
- Go to the “Chat” section.
- Select your preferred module from the dropdown.
- Start chatting and exploring the capabilities of Open WebUI!
🚀 Conclusion
By following this guide, you should now have a fully functional Open WebUI and Ollama setup on your Windows machine. With this setup, you can effortlessly manage modules, interact with backend data, and enjoy the streamlined user interface Open WebUI offers.