lxconsole
LXConsole is an open-source web-based application designed to simplify the management of LXD servers. It offers a convenient graphical user interface that allows users to manage multiple Incus (LXD’s fork) and LXD containers. In this blog, we will guide you through the entire process of setting up and using LXConsole, from launching a Debian instance to managing LXD containers seamlessly through a web interface.
Stpe1: Launching the Debian instance
To begin with, you need a Debian instance. This can be easily achieved using Proxmox helper scripts. These scripts automate the setup process, saving you time and effort. To launch the Debian instance, execute the following command:
1
bash -c "$(wget -qLO - https://github.com/community-scripts/ProxmoxVE/raw/main/ct/debian.sh)"
This command will download and execute a script that sets up a Debian container on your Proxmox environment. After running the script, you should have a Debian instance ready for further configuration.
1
2
3
4
5
6
7
8
9
10
11
12
13
14
15
16
17
18
19
20
21
22
23
24
25
26
27
28
29
30
31
32
33
34
35
36
37
38
39
40
41
42
43
    ____       __    _
   / __ \___  / /_  (_)___ _____
  / / / / _ \/ __ \/ / __ `/ __ \
 / /_/ /  __/ /_/ / / /_/ / / / /
/_____/\___/_.___/_/\__,_/_/ /_/

  🧩  Using Advanced Settings
  🖥️   Operating System: debian
  🌟  Version: 12
  📦  Container Type: Privileged
  🔐  Root Password: ********
  🆔  Container ID: XXX
  🏠  Hostname: lxconsole
  💾  Disk Size: 2
  🧠  CPU Cores: 1
  🛠️   RAM Size: 512
  🌉  Bridge: vmbr0
  📡  IP Address: XXXXXXXXXX
  🌐  Gateway IP Address: XXXXXXXXXX
  📡  APT-Cacher IP Address: Default
  🚫  Disable IPv6: no
  ⚙️   Interface MTU Size: Default
  🔍  DNS Search Domain: Host
  📡  DNS Server IP Address: Host
  🏷️   Vlan: Default
  🔑  Root SSH Access: yes
  🔍  Verbose Mode: yes
  🚀  Creating a Debian LXC using the above advanced settings
  ✔️   Using XXXXXXXXXX for Template Storage.
  ✔️   Using XXXXXXXXXX for Container Storage.
  ✔️   Updated LXC Template List
  ✔️   LXC Container XXX was successfully created.
  ✔️   Started LXC Container
  ✔️   Set up Container OS
  ✔️   Network Connected: XXXXXXXXXX
  ✔️   IPv4 Internet Connected
  ✖️   IPv6 Internet Not Connected
  ✔️   DNS Resolved github.com to XXXX:XXXX:XXXX::XXXX:XXXX
  ✔️   Updated Container OS
  ✔️   Installed Dependencies
  ✔️   Cleaned
  ✔️   Completed Successfully!
  🚀  Debian setup has been successfully initialized!
Step2: Configuring the LXconsole
Once your server has booted and is running, you can connect to the server and start configuring LXConsole. To do this, use the LXC console to access your Debian server.
1
2
3
4
5
6
7
8
9
10
11
12
13
14
❯ lxc-console XXX

Connected to tty 1
Type <Ctrl+a q> to exit the console, <Ctrl+a Ctrl+a> to enter Ctrl+a itself

lxconsole login:
lxconsole login: root
Password:

Debian LXC Container
    🖥️    OS: Debian GNU/Linux - Version: 12
    🏠   Hostname: lxconsole
    💡   IP Address: XXXXXXXXXX
root@lxconsole:~#
Next, install essential packages such as Git, Python 3, and Pip to prepare the environment for LXConsole:
1
sudo apt install git python3 python3-pip
Once these packages are installed, clone the LXConsole repository from GitHub and install the necessary requirements:
1
2
3
4
5
6
7
8
9
10
root@lxconsole:~# git clone https://github.com/PenningLabs/lxconsole.git
Cloning into 'lxconsole'...
remote: Enumerating objects: 3258, done.
remote: Counting objects: 100% (797/797), done.
remote: Compressing objects: 100% (287/287), done.
remote: Total 3258 (delta 573), reused 719 (delta 500), pack-reused 2461 (from 1)
Receiving objects: 100% (3258/3258), 22.76 MiB | 4.03 MiB/s, done.
Resolving deltas: 100% (1143/1143), done.

root@lxconsole:~# cd lxconsole && pip3 install -r requirements.txt
Once the installation is complete, run LXConsole by executing the run.py file:
1
python3 run.py
Step3: Creating the systemd file
To ensure LXConsole starts automatically when the system boots up, you need to create a systemd service file. This will configure LXConsole to launch as a service during system startup.
First, create the service file with the following command:
1
touch /etc/systemd/system/lxconsole.service
Next, add the following content to the file using you favourite editor or choice (eg: nano, vim) making sure to update the paths according to your environment:
1
2
3
4
5
6
7
8
9
10
11
12
13
[Unit]
Description=LXConsole
After=network.target

[Service]
Type=simple
User=$USER
WorkingDirectory=/location/to/gitclone/lxconsole/
ExecStart=/usr/bin/python3 /location/to/gitclone/lxconsole/run.py
Restart=on-failure

[Install]
WantedBy=multi-user.target
After saving the file, reload the systemd daemon to apply the changes and start the LXConsole service:
1
2
systemctl daemon-reload
systemctl restart lxconsole.service
This ensures that LXConsole will run on startup and be ready to manage your LXD containers.
Step4: Installing the lxd
If you dont have lxd server preconfigured you can install the lxd server by using the following steps
As we are using the debian operating system debain has the apt package manager we use the apt package manager to install the lxd and initilaze it
1
2
sudo apt-get install lxd
lxd init
During the initialization process, you will be prompted with a series of questions to configure LXD. Here’s a sample of what the configuration might look like:
1
2
3
4
5
6
7
8
9
10
11
12
13
14
15
16
17
root@lxconsole:~/lxd# lxd init
Would you like to use LXD clustering? (yes/no) [default=no]:
Do you want to configure a new storage pool? (yes/no) [default=yes]:
Name of the new storage pool [default=default]: lxdpool
Would you like to connect to a MAAS server? (yes/no) [default=no]:
Would you like to create a new local network bridge? (yes/no) [default=yes]:
What should the new bridge be called? [default=lxdbr0]:
What IPv4 address should be used? (CIDR subnet notation, “auto” or “none”) [default=auto]:
What IPv6 address should be used? (CIDR subnet notation, “auto” or “none”) [default=auto]:
Would you like the LXD server to be available over the network? (yes/no) [default=no]: yes
Address to bind LXD to (not including port) [default=all]:
Port to bind LXD to [default=8443]:
Trust password for new clients:
Again:
Would you like stale cached images to be updated automatically? (yes/no) [default=yes]:
Would you like a YAML "lxd init" preseed to be printed? (yes/no) [default=no]:
root@lxconsole:~/lxd#
Once you complete the configuration, LXD will be set up and ready to use.
Step5: Accessing the lxconsole
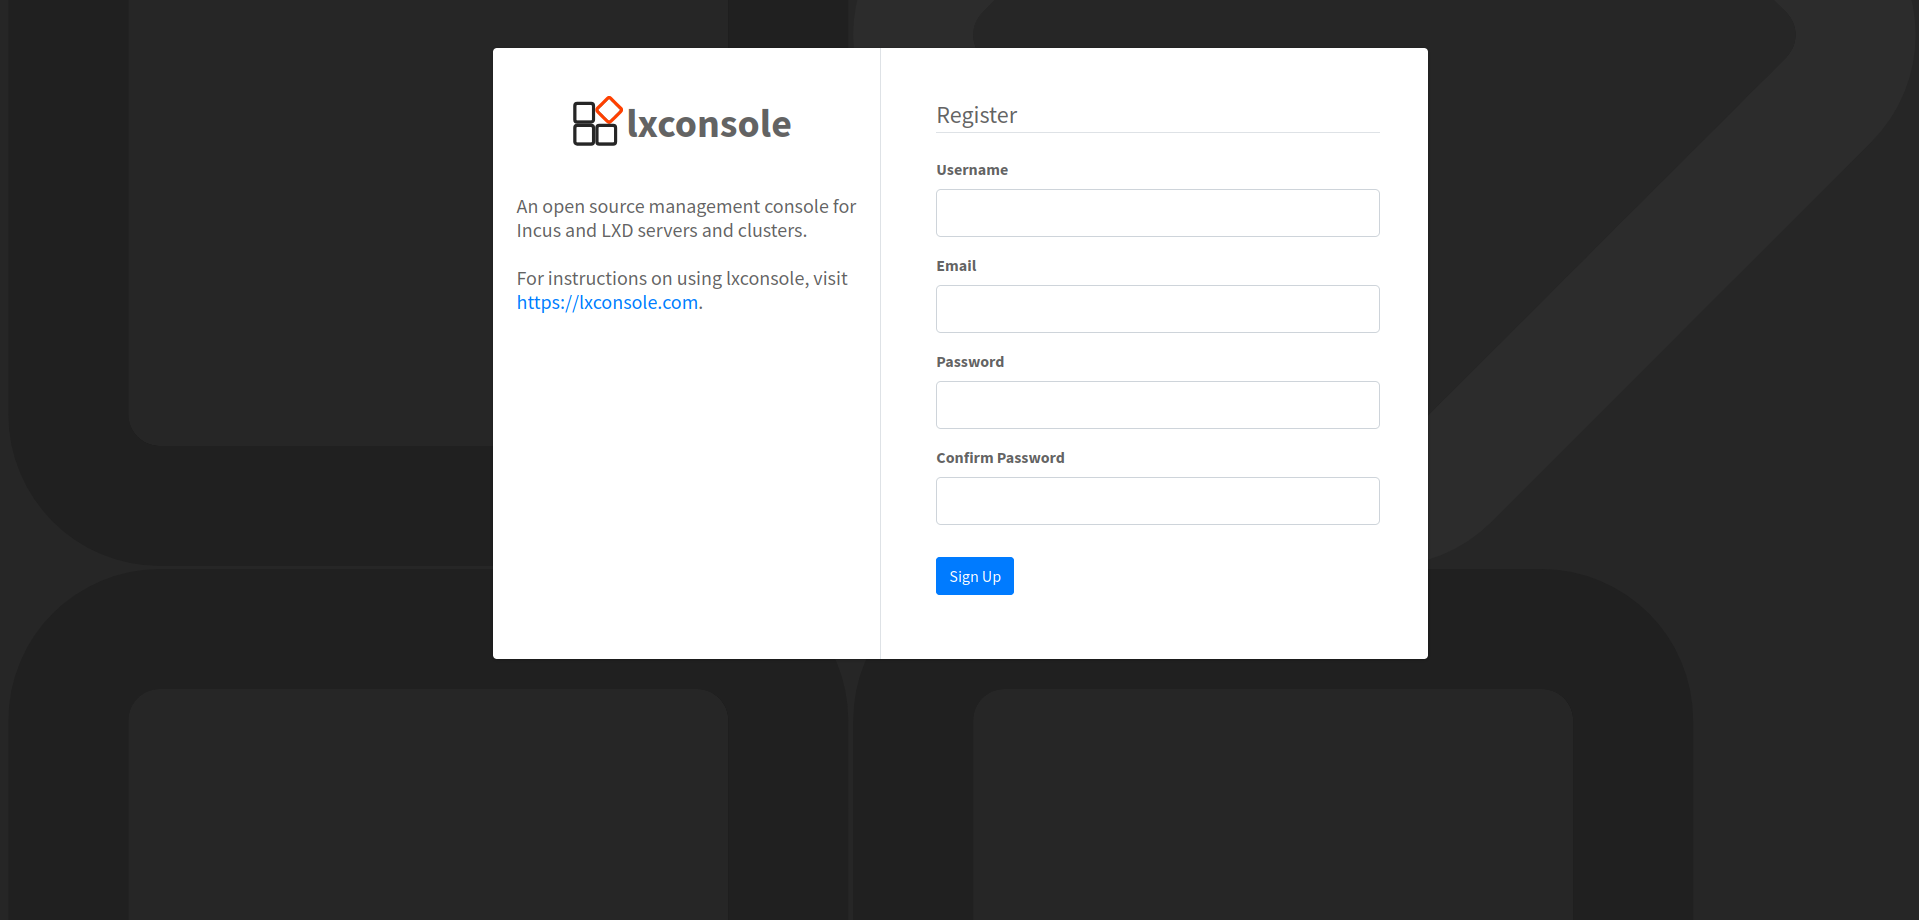
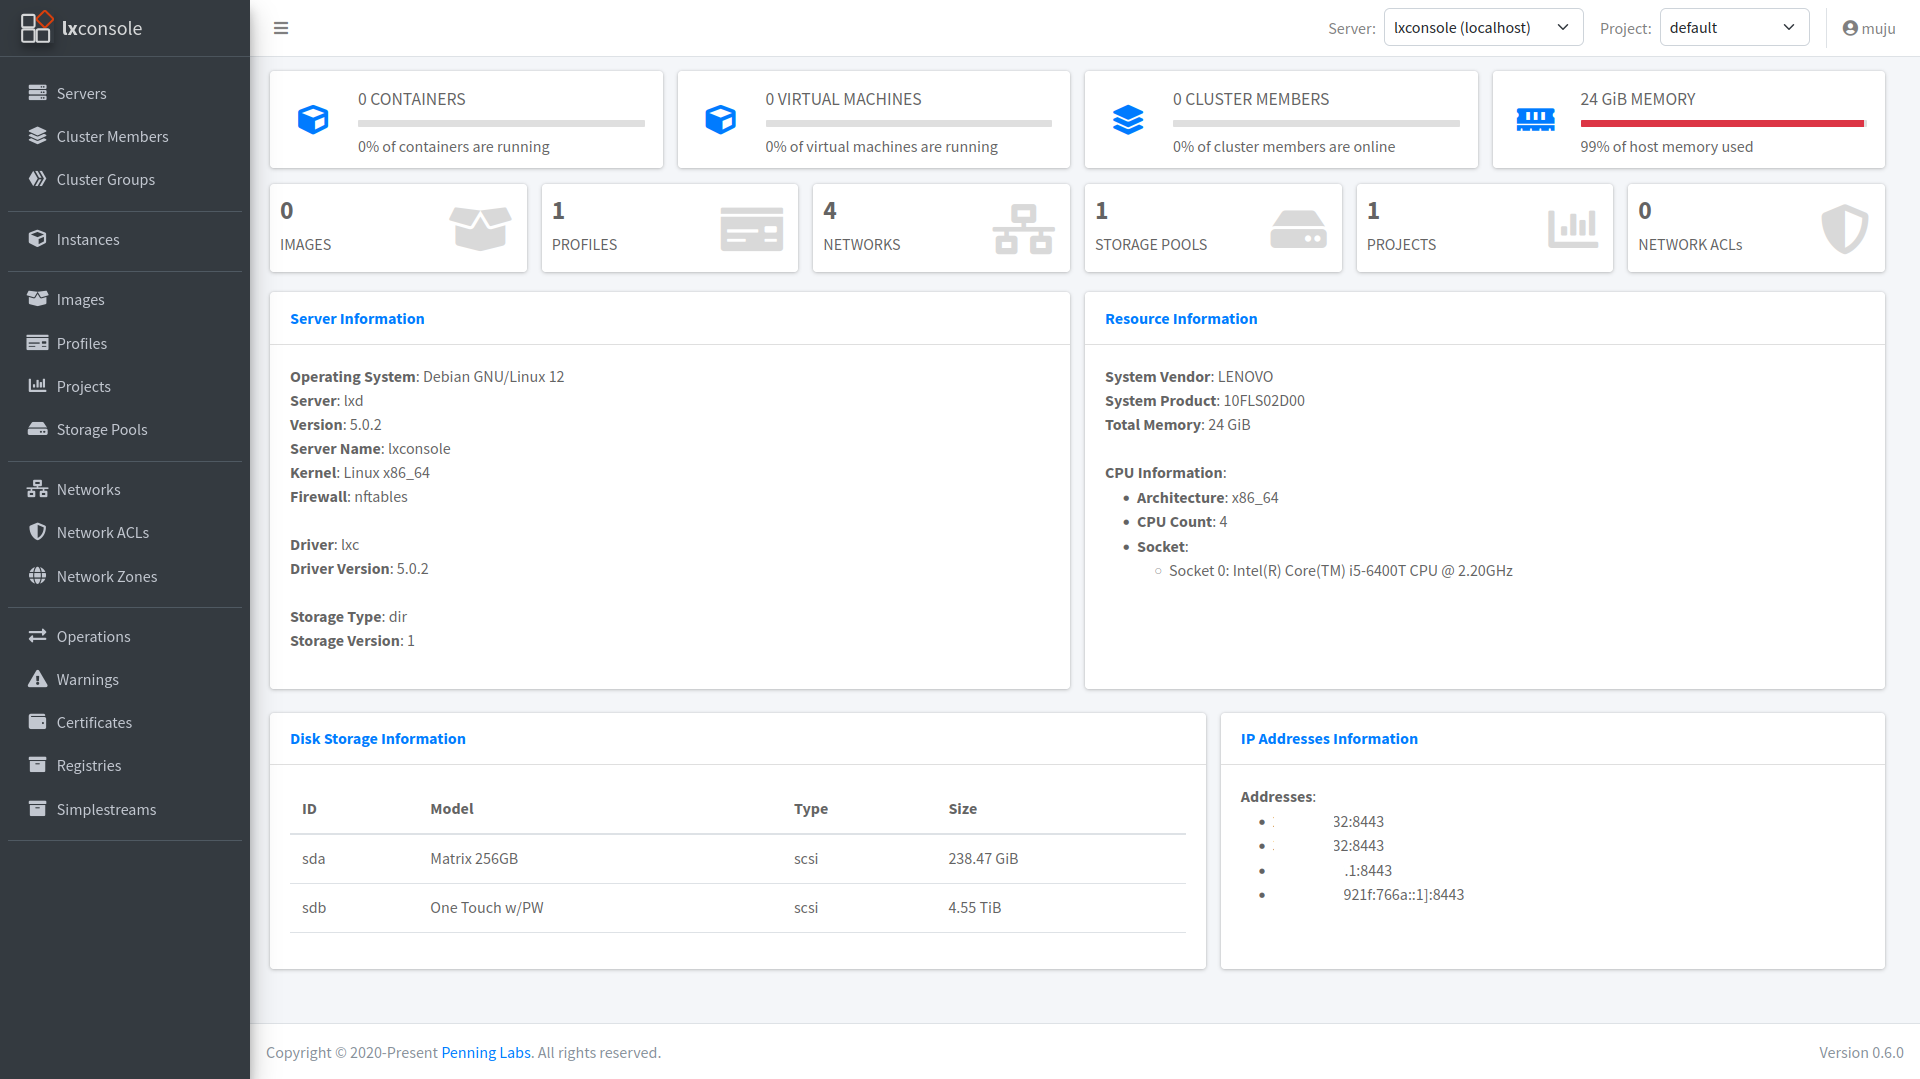
Now that LXConsole is installed and running, you can access the web-based user interface. Open your browser and navigate to:
1
http://$SERVER_IP:5000
During the first boot of LXConsole, you will be prompted to register and log in with your credentials.
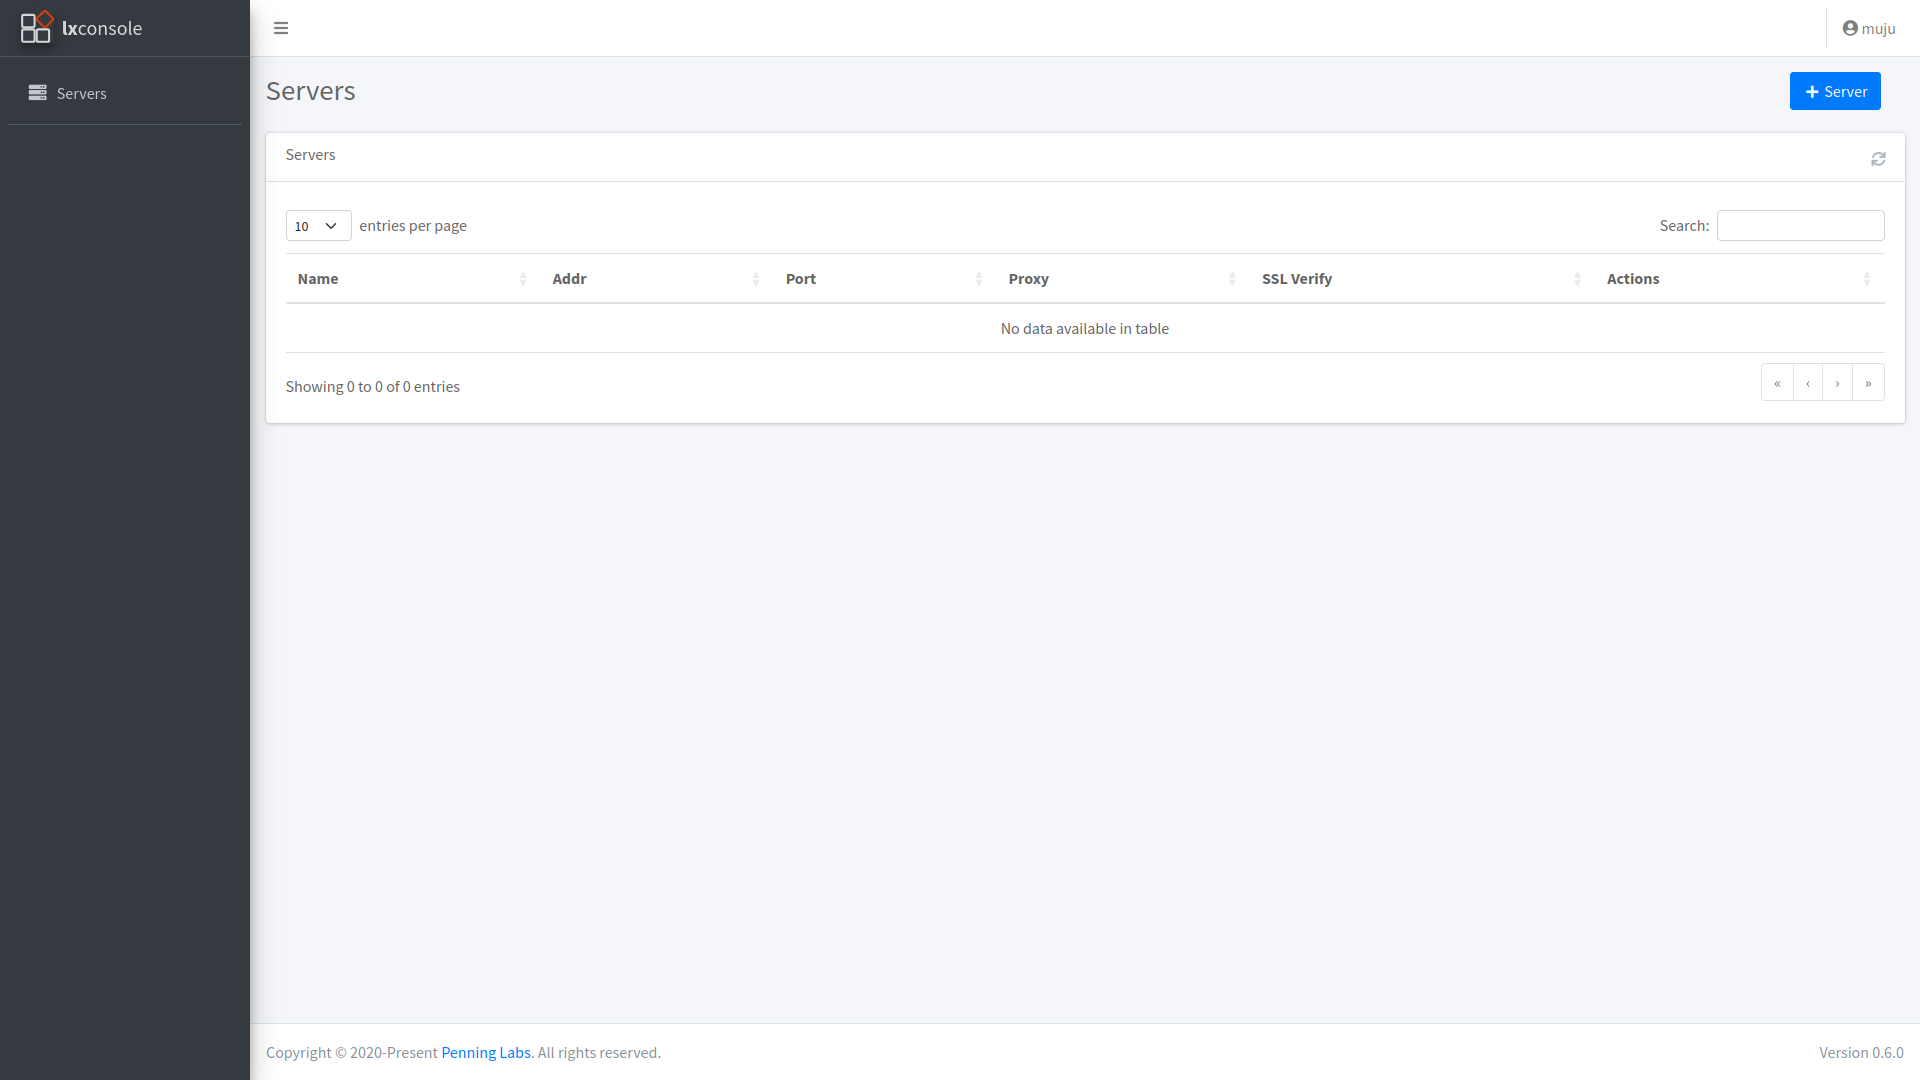
Step6: Adding the lxd server to the lxconsole
Once you loged in add the existing lxd container to the lxconsole to connect and manage the lxd conatiners
 |
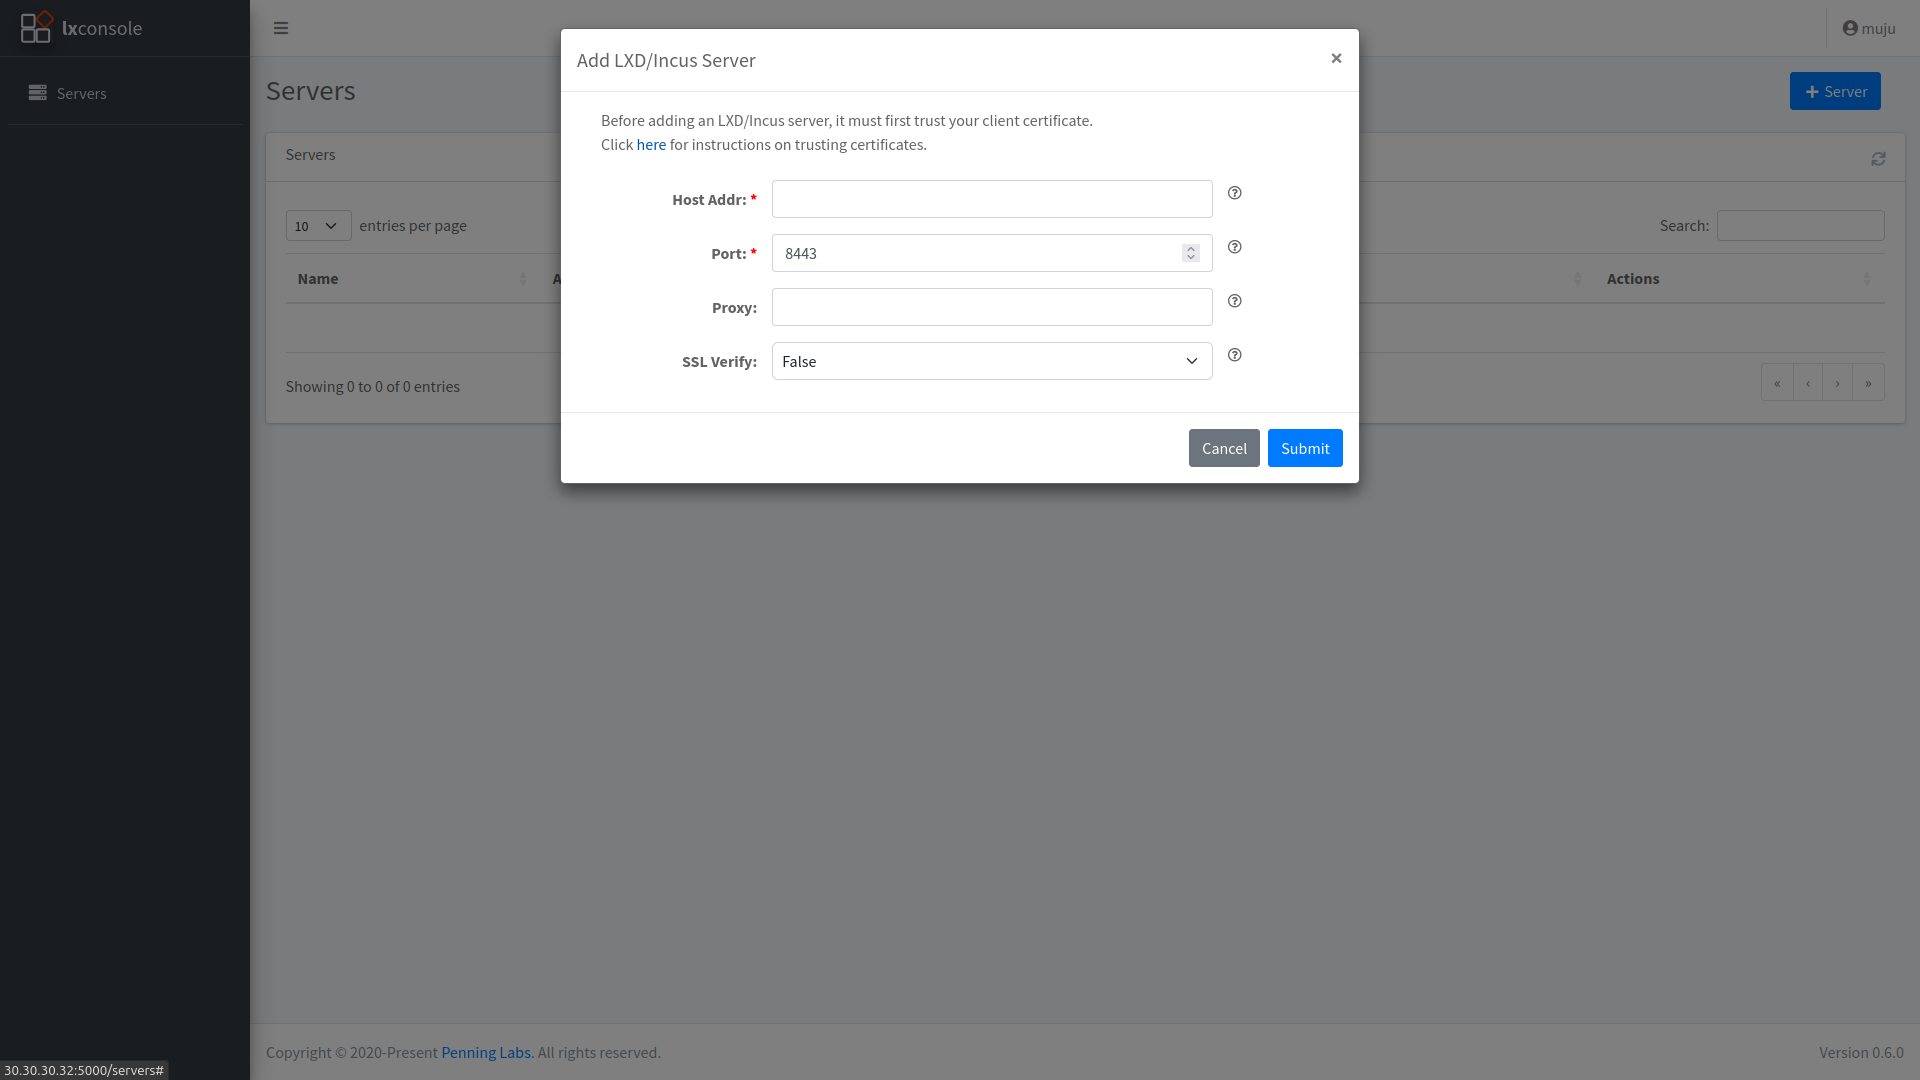 |
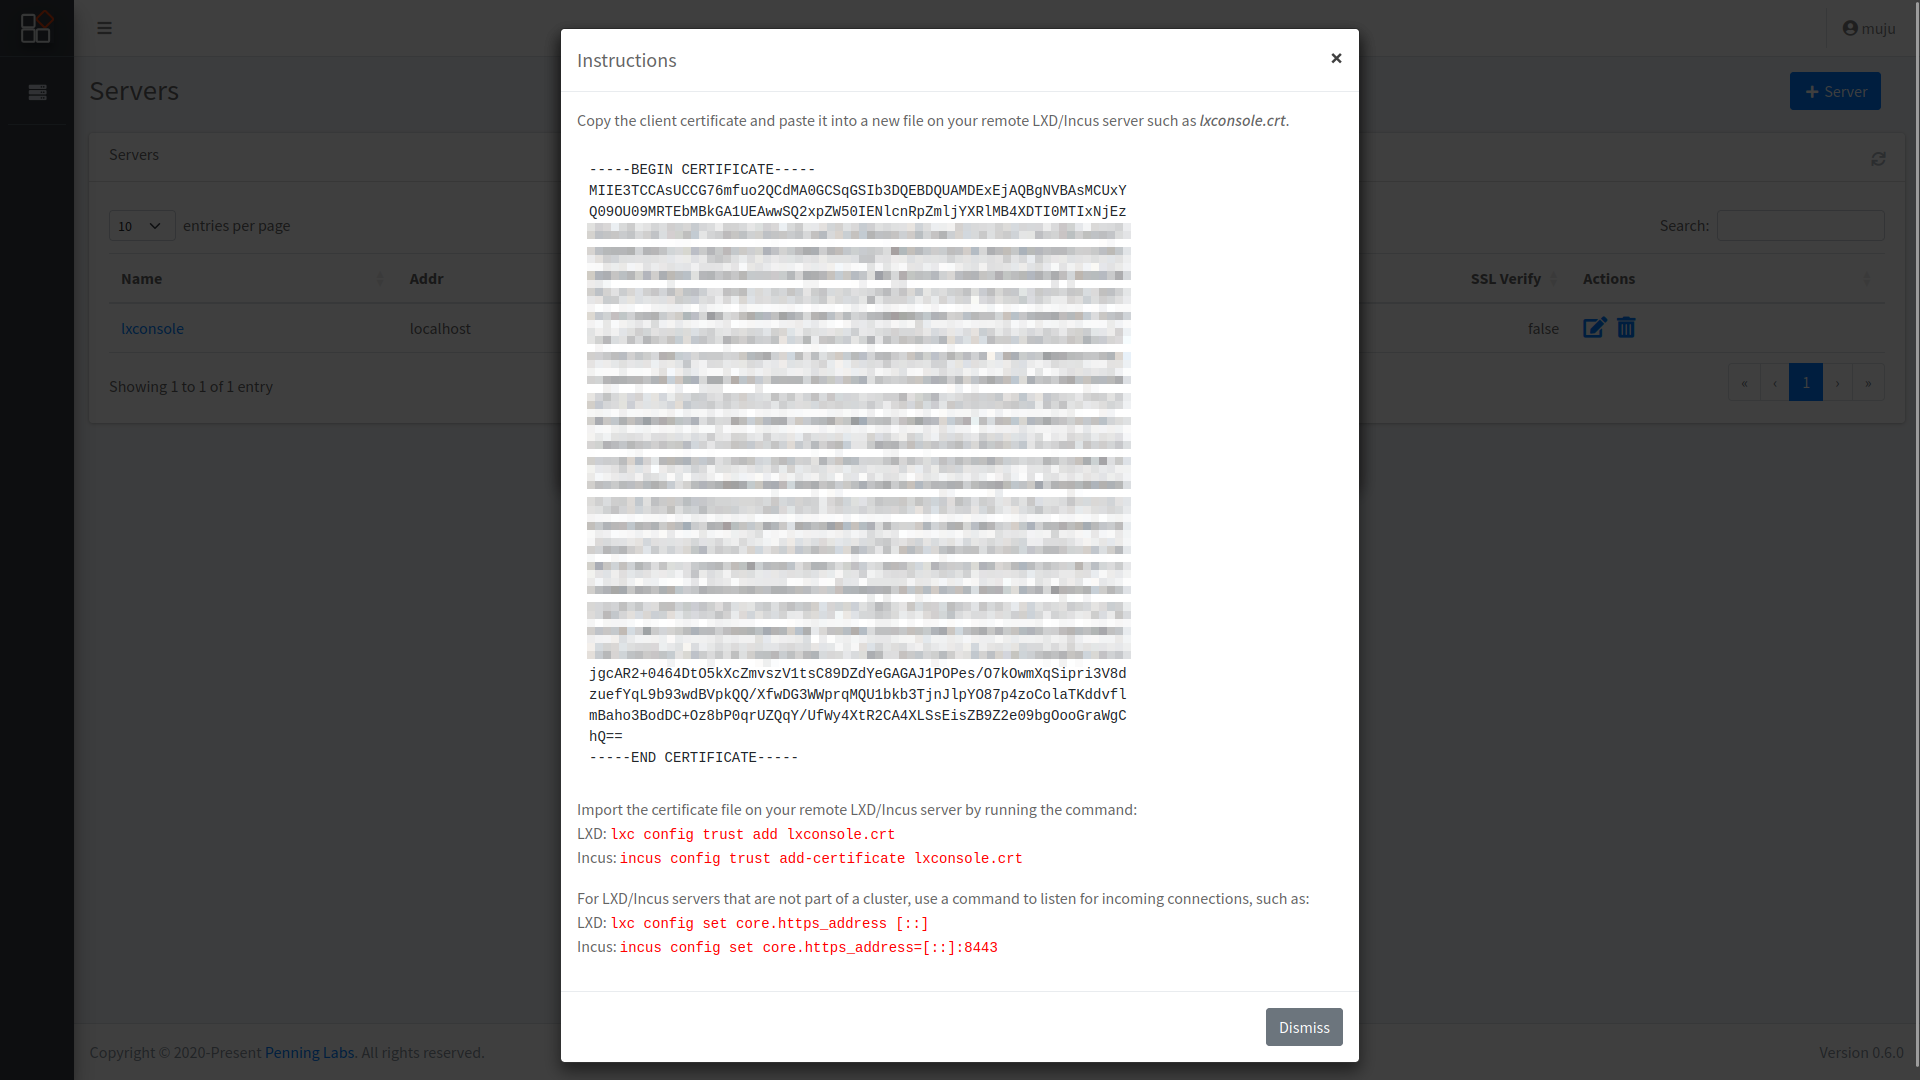
Before adding the server to the lxconsole we need to add the client trusted certicate
1
2
3
root@lxconsole:~/lxd# nano lxconsole.crt
root@lxconsole:~/lxd# lxc config trust add lxconsole.crt
root@lxconsole:~/lxd# lxc config set core.https_address [::]
Once the server is added successfully, you can begin managing your LXD containers and virtual machines via LXConsole.
step7: Launching the lxd container (alpine)
As we have configured lxd and lxconsole lets launch the alpine lxd container. Start by searching for available LXD images Then, launch a container using a specific image by executing the following command for example, to launch an Alpine Linux container, you can use:
1
2
3
lxc image list images
lxc launch images:{distro}/{version}/{arch} {container-name-here}
lxc info {distro}
1
2
3
4
5
6
7
8
9
10
11
12
13
14
15
16
17
18
19
20
21
22
23
24
25
26
27
28
29
30
31
32
33
34
35
36
37
38
39
40
41
42
43
44
45
46
47
48
49
50
51
52
53
54
55
56
57
58
59
60
61
root@lxconsole:~/lxd# lxc image list images: | grep alpine | grep x86_64 | grep -i container
| alpine/3.17 (3 more)                     | 25716e82c54e | yes    | Alpine 3.17 amd64 (20241218_0021)         | x86_64       | CONTAINER       | 2.94MB    | Dec 18, 2024 at 12:00am (UTC) |
| alpine/3.17/cloud (1 more)               | 0ffc7b828a14 | yes    | Alpine 3.17 amd64 (20241218_0021)         | x86_64       | CONTAINER       | 19.49MB   | Dec 18, 2024 at 12:00am (UTC) |
| alpine/3.18 (3 more)                     | 2dac80bf43a5 | yes    | Alpine 3.18 amd64 (20241218_0022)         | x86_64       | CONTAINER       | 2.95MB    | Dec 18, 2024 at 12:00am (UTC) |
| alpine/3.18/cloud (1 more)               | 959a3da69418 | yes    | Alpine 3.18 amd64 (20241218_0021)         | x86_64       | CONTAINER       | 20.79MB   | Dec 18, 2024 at 12:00am (UTC) |
| alpine/3.19 (3 more)                     | 52a2cf969e89 | yes    | Alpine 3.19 amd64 (20241218_0022)         | x86_64       | CONTAINER       | 2.93MB    | Dec 18, 2024 at 12:00am (UTC) |
| alpine/3.19/cloud (1 more)               | 305be1b7f6cf | yes    | Alpine 3.19 amd64 (20241218_0021)         | x86_64       | CONTAINER       | 20.98MB   | Dec 18, 2024 at 12:00am (UTC) |
| alpine/3.20 (3 more)                     | 9eef9c97c1a5 | yes    | Alpine 3.20 amd64 (20241218_0021)         | x86_64       | CONTAINER       | 3.08MB    | Dec 18, 2024 at 12:00am (UTC) |
| alpine/3.20/cloud (1 more)               | d75bd38b9454 | yes    | Alpine 3.20 amd64 (20241218_0021)         | x86_64       | CONTAINER       | 19.67MB   | Dec 18, 2024 at 12:00am (UTC) |
| alpine/edge (3 more)                     | 2e72675086fe | yes    | Alpine edge amd64 (20241218_0021)         | x86_64       | CONTAINER       | 3.09MB    | Dec 18, 2024 at 12:00am (UTC) |
| alpine/edge/cloud (1 more)               | 6426f253d902 | yes    | Alpine edge amd64 (20241218_0021)         | x86_64       | CONTAINER       | 20.13MB   | Dec 18, 2024 at 12:00am (UTC) |
root@lxconsole:~/lxd# lxc launch images:alpine/3.20/amd64 alpine
Creating alpine
Starting alpine
root@lxconsole:~/lxd# lxc list
+--------+---------+----------------------+-----------------------------------------------+-----------+-----------+
|  NAME  |  STATE  |         IPV4         |                     IPV6                      |   TYPE    | SNAPSHOTS |
+--------+---------+----------------------+-----------------------------------------------+-----------+-----------+
| alpine | RUNNING | XX.XX.XX.XX (eth0) | XXXX:XXXX:XXXX:XXXX:XXXX:XXXX:XXXX:XXXX (eth0) | CONTAINER | 0         |
+--------+---------+----------------------+-----------------------------------------------+-----------+-----------+
root@lxconsole:~/lxd# lxc info alpine
Name: alpine
Status: RUNNING
Type: container
Architecture: x86_64
PID: 42834
Created: 2024/12/18 16:34 IST
Last Used: 2024/12/18 16:34 IST

Resources:
  Processes: 5
  CPU usage:
    CPU usage (in seconds): 0
  Memory usage:
    Memory (current): 1.08MiB
  Network usage:
    eth0:
      Type: broadcast
      State: UP
      Host interface: vethf8073443
      MAC address: XX:XX:XX:XX:XX:XX
      MTU: 1500
      Bytes received: 48.06kB
      Bytes sent: 1.73kB
      Packets received: 1099
      Packets sent: 15
      IP addresses:
        inet:  XX.XX.XX.XX (global)
        inet6: XXXX:XXXX:XXXX:XXXX:XXXX:XXXX:XXXX:XXXX/64 (global)
        inet6: XXXX::XXXX:XXXX:XXXX:XXXX/64 (link)
    lo:
      Type: loopback
      State: UP
      MTU: 65536
      Bytes received: 0B
      Bytes sent: 0B
      Packets received: 0
      Packets sent: 0
      IP addresses:
        inet:  127.0.0.1/8 (local)
        inet6: ::1/128 (local)
As we have launched the lxc container to connect to the newly created container, execute:
1
lxc exec {containername} {command}
1
2
3
4
5
6
7
8
9
root@lxconsole:~# lxc exec alpine sh
~ # cat /etc/os-release
NAME="Alpine Linux"
ID=alpine
VERSION_ID=3.20.3
PRETTY_NAME="Alpine Linux v3.20"
HOME_URL="https://alpinelinux.org/"
BUG_REPORT_URL="https://gitlab.alpinelinux.org/alpine/aports/-/issues"
~ #
launching the Debian container
Here’s an elaboration of the section:
Let’s launch the Debian container in the same way we did with the Alpine container. To do this, we first need to filter out the specific image we intend to use from the list of available images. In this case, we’re opting for the “debian/12/cloud” image, which is a cloud-specific version of Debian 12. This image is optimized for cloud environments, making it ideal for container deployment.
To select the image, we can run the lxc image list command, which will display a list of available images from various sources. We can use the grep command to filter through the output and narrow down the list to only the Debian 12 cloud images.
Once we have the correct image identified, we can proceed to launch the container. The command we’ll use is lxc launch, followed by the image reference (images:debian/12/cloud). This will create and start the container, naming it “debian” in the process. The container will then be accessible for further management or use.
1
2
3
4
5
6
7
8
9
10
11
12
13
14
15
16
17
18
19
20
21
> root@lxconsole:~# lxc image list images: | grep debian/12
| debian/12 (7 more)                       | 13829fee748c | yes    | Debian bookworm amd64 (20250102_0002)     | x86_64       | CONTAINER       | 96.04MB   | Jan 2, 2025 at 12:00am (UTC)  |
| debian/12 (7 more)                       | ec5f73713766 | yes    | Debian bookworm amd64 (20250102_0002)     | x86_64       | VIRTUAL-MACHINE | 351.38MB  | Jan 2, 2025 at 12:00am (UTC)  |
| debian/12/arm64 (3 more)                 | 7f5fbadc7060 | yes    | Debian bookworm arm64 (20241230_0004)     | aarch64      | CONTAINER       | 93.10MB   | Dec 30, 2024 at 12:00am (UTC) |
| debian/12/cloud (3 more)                 | 9e3c8ec9bab8 | yes    | Debian bookworm amd64 (20250102_0002)     | x86_64       | VIRTUAL-MACHINE | 394.74MB  | Jan 2, 2025 at 12:00am (UTC)  |
| debian/12/cloud (3 more)                 | b7ef0541b199 | yes    | Debian bookworm amd64 (20250102_0002)     | x86_64       | CONTAINER       | 122.26MB  | Jan 2, 2025 at 12:00am (UTC)  |
| debian/12/cloud/arm64 (1 more)           | 29ec992650ff | yes    | Debian bookworm arm64 (20241230_0004)     | aarch64      | CONTAINER       | 118.60MB  | Dec 30, 2024 at 12:00am (UTC) |

> root@lxconsole:~# lxc launch images:debian/12/cloud debian
Creating debian
Starting debian

> root@lxconsole:~# lxc list
+--------+---------+----------------------+-----------------------------------------------+-----------+-----------+
|  NAME  |  STATE  |         IPV4         |                     IPV6                      |   TYPE    | SNAPSHOTS |
+--------+---------+----------------------+-----------------------------------------------+-----------+-----------+
| debian | RUNNING | 10.150.239.33 (eth0) | fd42:f569:921f:766a:216:3eff:fe0f:6cc6 (eth0) | CONTAINER | 0         |
+--------+---------+----------------------+-----------------------------------------------+-----------+-----------+

> root@lxconsole:~# lxc exec debian /bin/bash
> root@debian:~#
LXConsole allows you to manage the containers, view logs, and perform other administrative tasks from a central web interface, making it a powerful tool for container management.
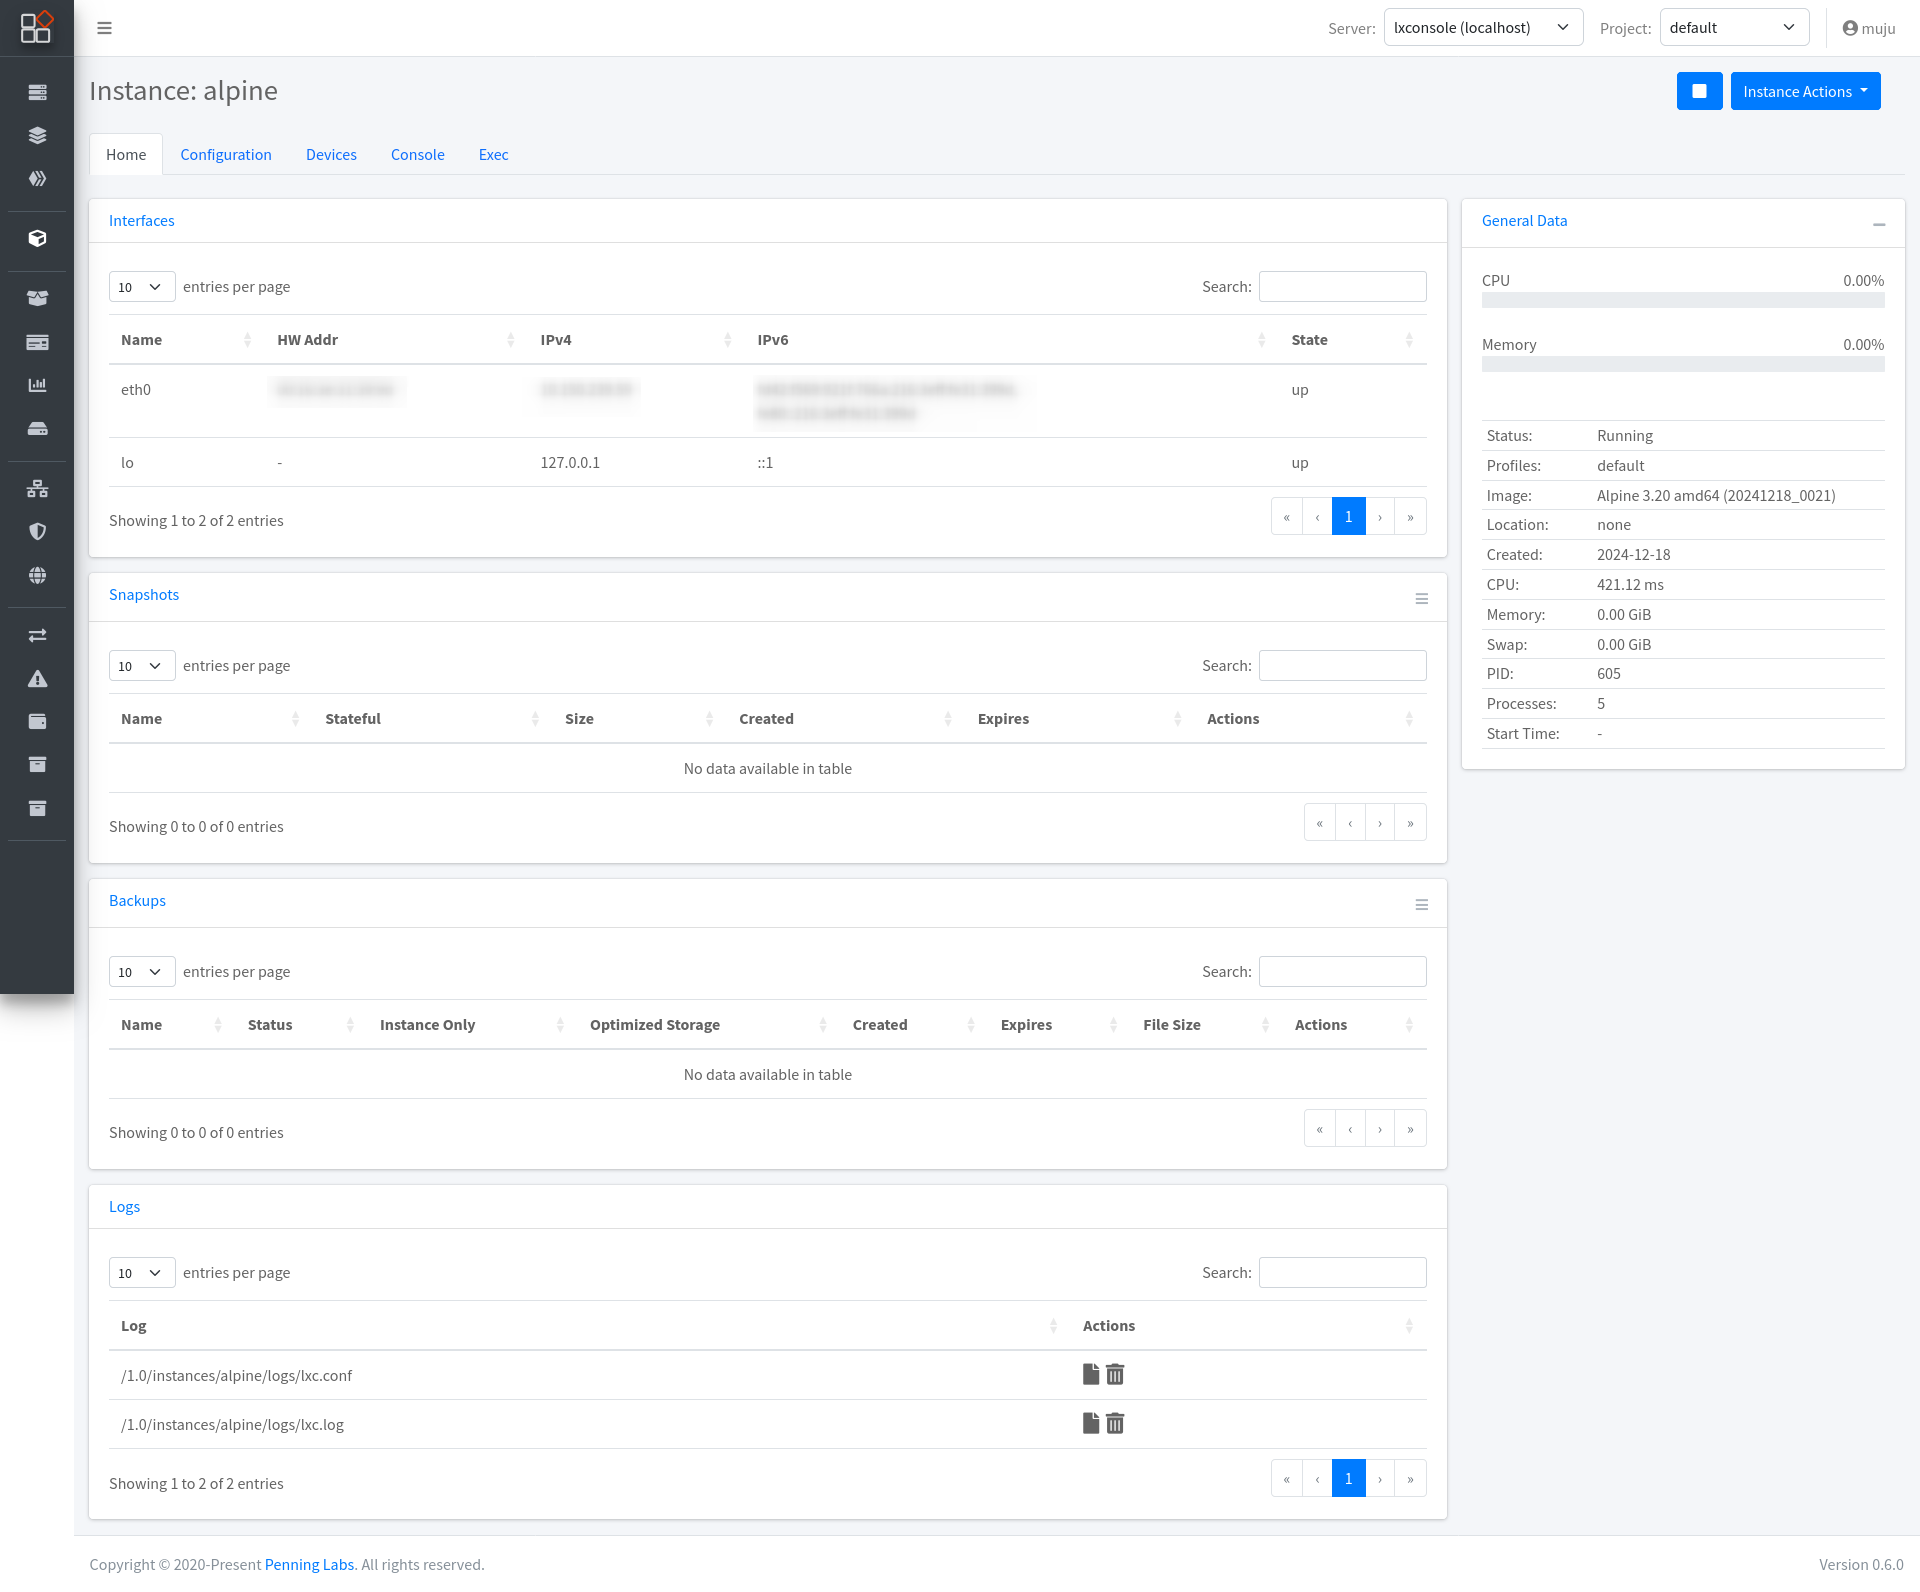
With LXConsole up and running, you now have a comprehensive web-based solution for managing your LXD containers. Whether you’re deploying new containers, configuring existing ones, or monitoring your containerized environment, LXConsole offers an intuitive and efficient interface to simplify the process.
For those looking to deepen their understanding of LXD commands and management, we’ve ceated LXC Cheat Sheet, which serves as a handy reference for common LXC commands and their usage.