Installing Cygwin & the Rsync Package
How to Install Cygwin on Windows and Add the Rsync Package
If you’re a Windows user and want to access Linux-like tools and packages, Cygwin is a great solution. Cygwin provides a large collection of GNU and Open Source tools, which offer a Linux-like environment on Windows. One such tool is rsync, a powerful utility for file synchronization.
In this post, we’ll walk through the installation process of Cygwin on Windows and how to add the rsync package.
Step 1: Download the Cygwin Installer
First, you’ll need to download the official Cygwin setup package from the Cygwin website.
- Navigate to the Cygwin download page and download the setup executable file. It will be named something like
setup-x86_64.exefor 64-bit systems.
Step 2: Run the Cygwin Setup Wizard
Once you have the setup file downloaded, double-click on it to run the Cygwin Setup Wizard.
Step 3: Choose Installation Method
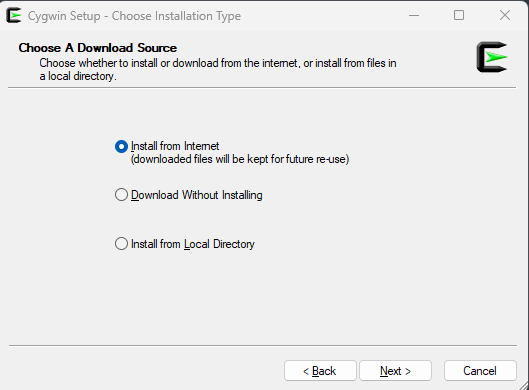
- When the setup wizard opens, select Install from Internet and click Next.
- This option allows Cygwin to download the necessary files from the internet.
Step 4: Select Installation Location
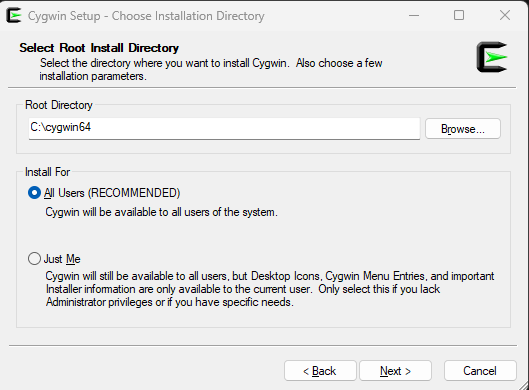
- Next, you’ll be prompted to select the location where you want to install Cygwin. By default, it installs on your C: drive (C:\cygwin64), but you can change the location if you’d prefer to install it on a different drive, like your E: drive.
- Choose the installation directory and click Next.
Step 5: Select Local Package Directory
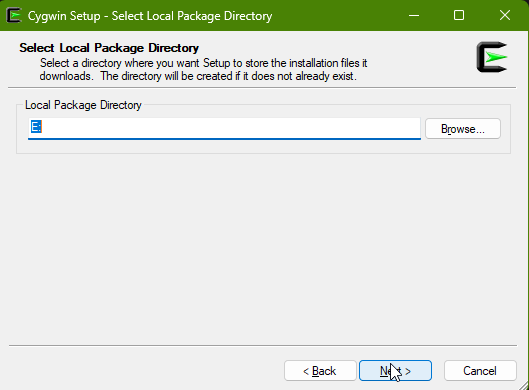
- Now, you’ll need to select a Local Package Directory where the downloaded Cygwin packages will be stored temporarily. For example, you can use your E: drive or any other directory.
- After selecting the directory, click Next.
Step 6: Choose Internet Connectivity
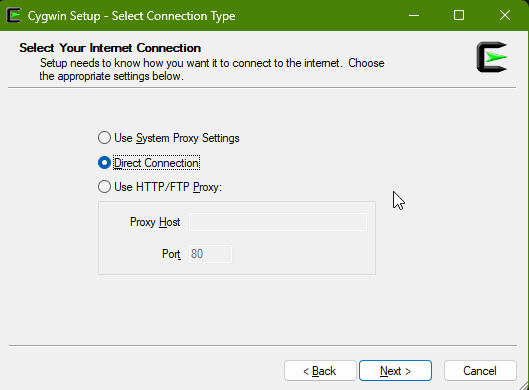
- Select the Direct Connection option for internet connectivity.
- If you have a proxy server, you can configure it here, but for most home users, the direct connection will work fine.
- Click Next.
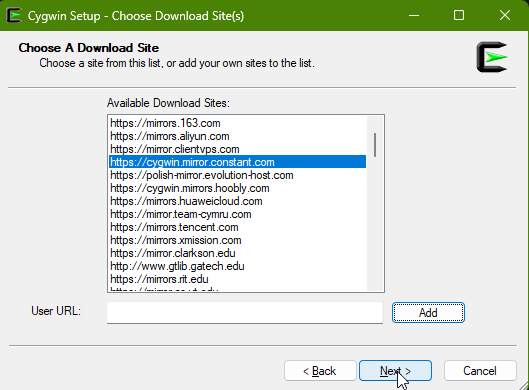
Step 7: Select Download Mirror
- Choose a Download Site. Cygwin will provide a list of mirrors. You can select the mirror closest to your location. I used cygwin.mirror.constant.com for this tutorial.
- Click Next.
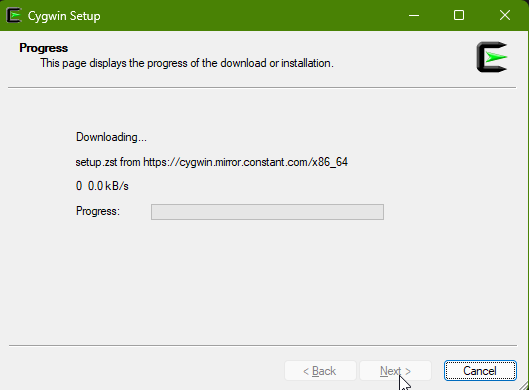
Step 8: Download Cygwin Packages
Once you’ve selected a mirror, Cygwin will begin downloading the necessary setup files. This process may take a few minutes, depending on your internet connection speed.
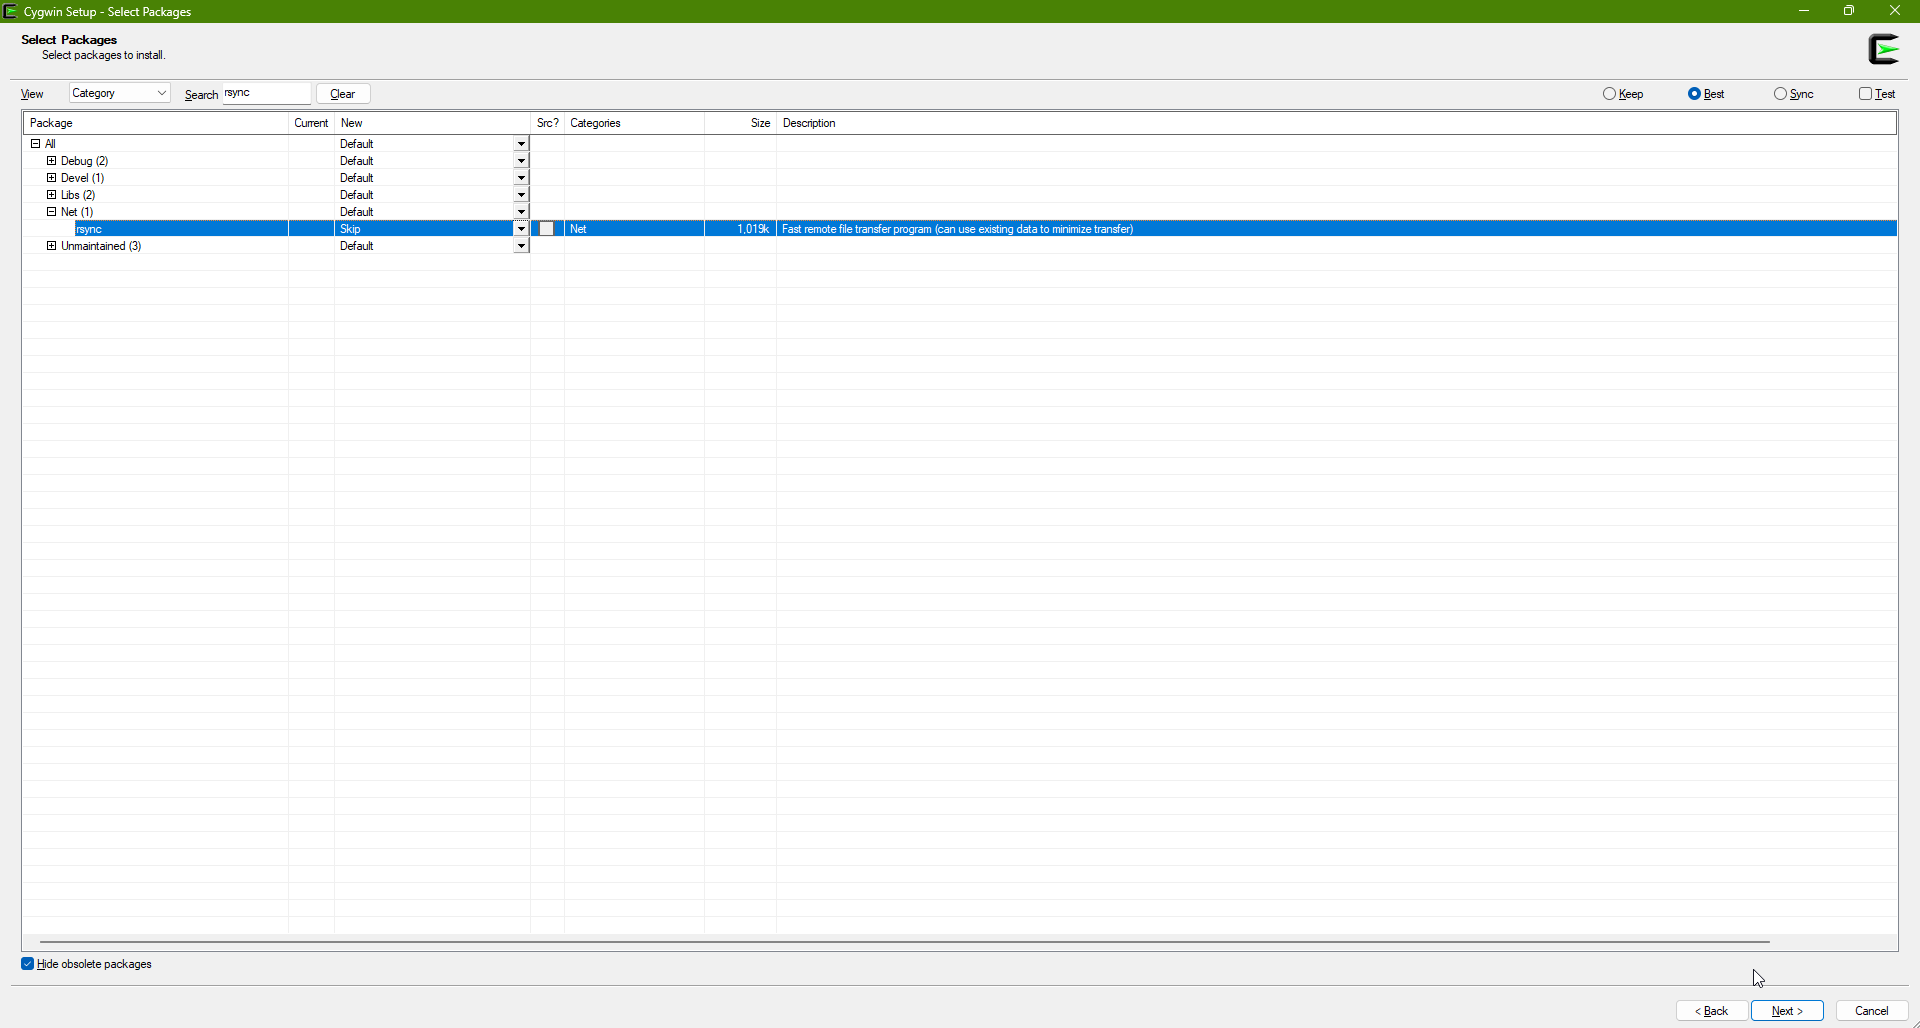
Step 9: Select Packages to Install
- After the download finishes, the setup wizard will ask you to select the packages you want to install.
- In this case, we want to install the
rsyncpackage. To do this:- In the package list, use the search bar at the top and search for
rsync. - Under the “Net” category, locate the
rsyncpackage. - Click on the “Skip” label next to
rsyncto select it for installation (it will change to show the version number).
- In the package list, use the search bar at the top and search for
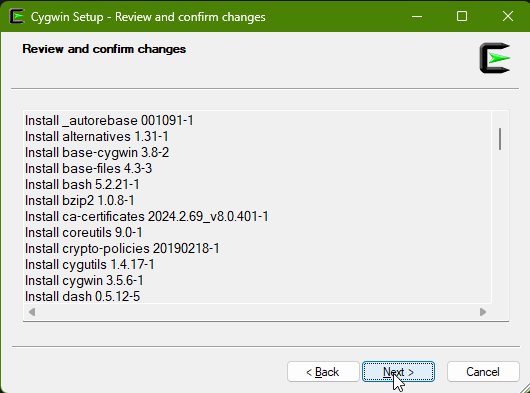
Step 10: Begin Installation
- After selecting
rsyncand any other packages you wish to install, click Next. - The setup will start installing Cygwin and the selected packages, including
rsync.
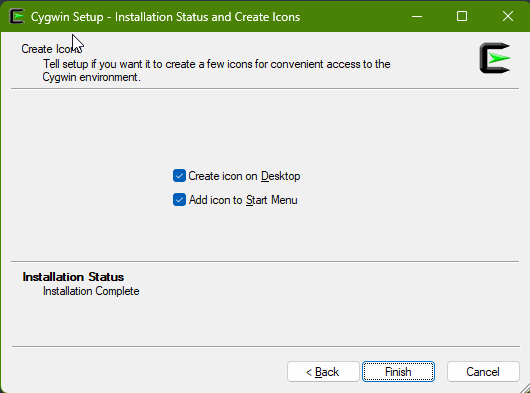
Step 11: Complete the Installation
Once the installation process is complete, the wizard will prompt you to click Finish.
Step 12: Open the Cygwin Terminal
After the installation is finished, you can access your Linux-like environment by opening the Cygwin Terminal. It should be available from the Start Menu under Cygwin or simply by searching for Cygwin Terminal.
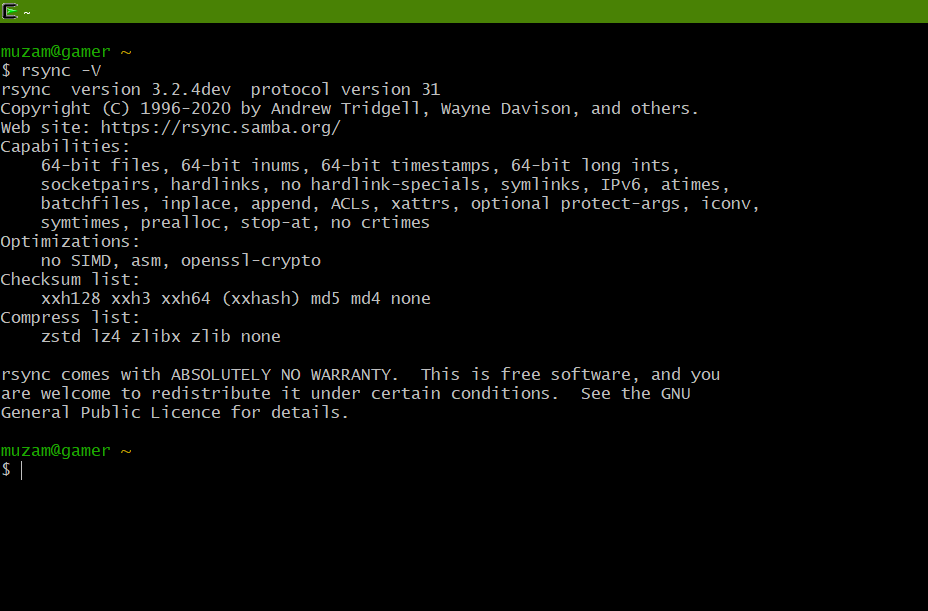
To verify that rsync was installed correctly, open the Cygwin terminal and type the following command:
1
rsync -V
If the installation was successful, you should see information about the installed version of rsync.
Conclusion
Now you have successfully installed Cygwin on your Windows machine and added the rsync package. You can use Cygwin to access a Linux-like environment and use various Linux tools like rsync directly on your Windows machine.
With Cygwin, you can take advantage of powerful Unix utilities like rsync, making it easier to manage files and data between your Windows system and other Linux systems.